
Crushed crackers under the car seat, a coffee drip in the cup holder, wet dog smell after a rainy day – vehicle interiors collect more than most people realize. This car interior cleaning guide focuses on the methods that make the biggest visible difference without over-wetting fabric, spreading stains, or damaging sensitive surfaces.
A clean car feels better to drive, but it also helps protect the upholstery, carpeting, and trim you use every day. For busy families, pet owners, and commuters, the goal is not perfection after every trip. It is a fresher, safer cabin that is easier to maintain and ready when passengers climb in.
Start Your Car Interior Cleaning Guide With the Right Order
Cleaning in the wrong order creates extra work. If you wipe the dashboard before vacuuming the seats, dust from the seats and headliner can settle right back onto the dash. Work from top to bottom and from dry soil to wet cleaning.
Remove floor mats, trash, personal items, and car seats first. Check under the front seats, in the seat tracks, inside door pockets, and around the center console. A small detailing brush or soft paintbrush can loosen debris from tight seams before you vacuum it away.
Vacuum the headliner lightly, then the seats, door panels, console, and carpets. Use a crevice tool along seat edges and under the pedals, where sand, pet hair, and food crumbs tend to pack down. Take your time with fabric seats and carpeted floors. Dry debris is much easier to remove before moisture is introduced.
Match the Cleaner to the Surface
One all-purpose spray may be convenient, but it is not always the safest choice. Modern vehicle interiors often combine vinyl, plastic, leather, coated leather, cloth, carpet, touchscreen glass, and chrome-look trim. Each responds differently to moisture and cleaning products.
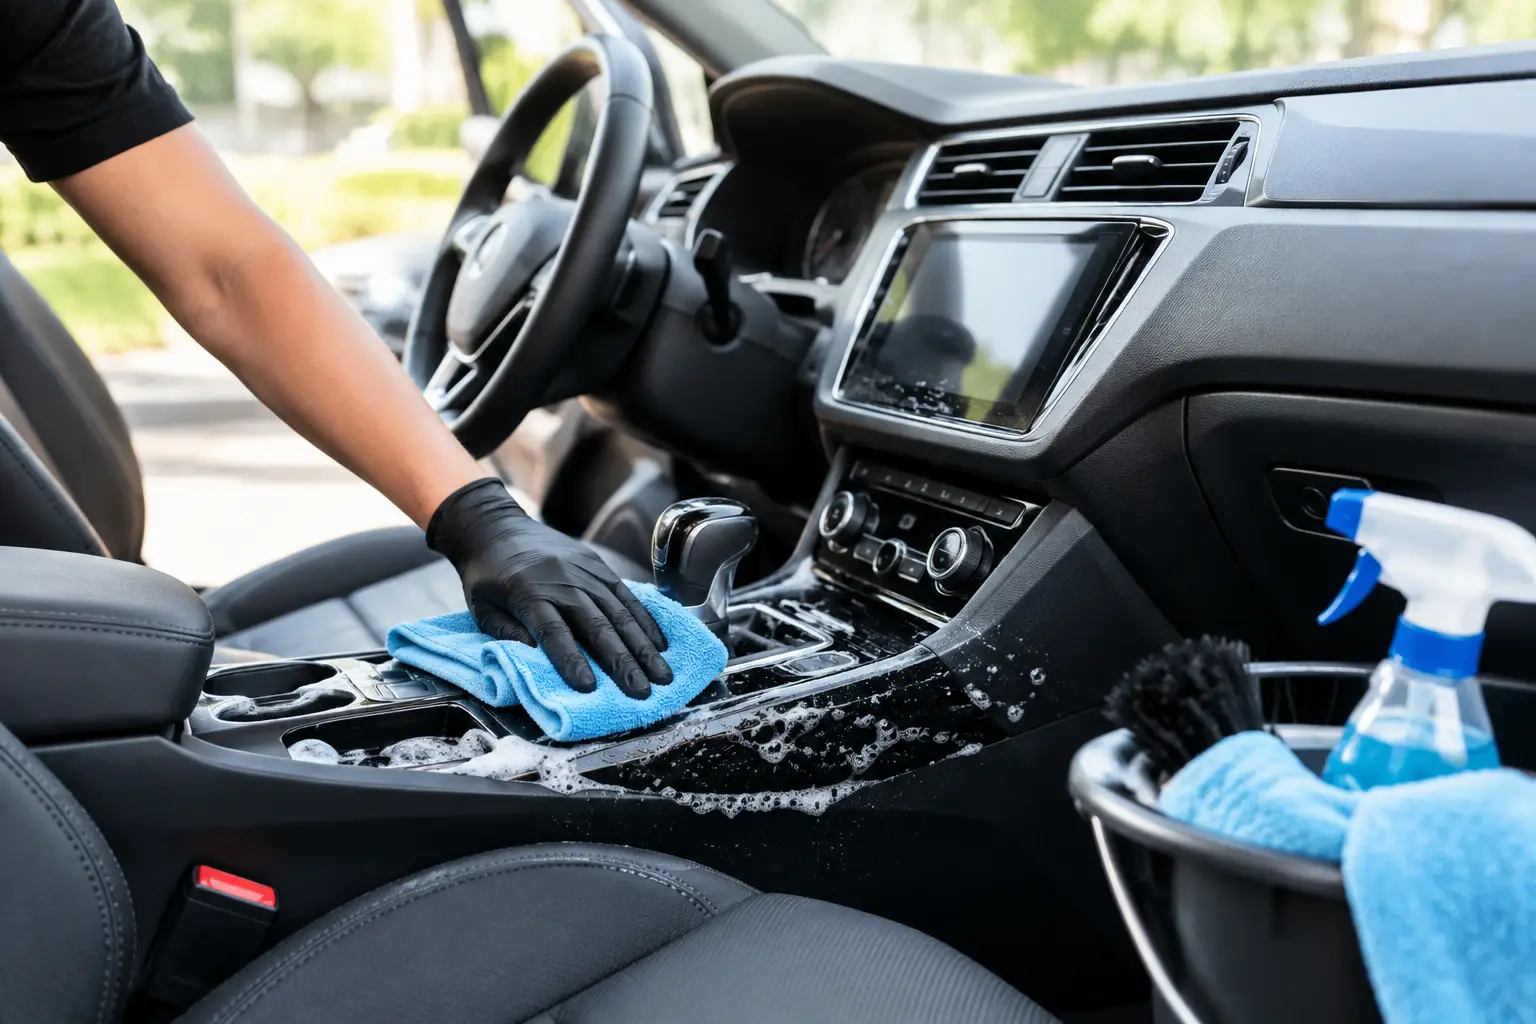
For hard surfaces, use a clean microfiber towel that is lightly dampened with a mild, non-toxic interior cleaner. Spray the towel rather than directly onto dashboards, controls, vents, or screens. This helps prevent liquid from running into buttons, electrical components, and small gaps in the trim.
Wipe high-touch areas carefully, including the steering wheel, gear selector, door handles, seatbelt buckles, and armrests. These spots collect skin oils and grime quickly. Use a second dry microfiber towel to buff away moisture and leave surfaces clean rather than slick.
Be Careful With Screens and Instrument Panels
Touchscreens and clear plastic gauge covers scratch easily. Avoid paper towels, abrasive pads, glass cleaners containing ammonia, and heavy pressure. A dry or barely damp microfiber towel is usually enough for fingerprints and dust.
If a screen has stubborn residue, use a cleaner specifically intended for electronics or follow the vehicle manufacturer’s care instructions. Less product is usually better. A streak-free screen is not worth risking damage to an expensive display.
Leather Needs Gentle Cleaning, Not Soaking
Leather or leather-trimmed seats should be cleaned with a product made for automotive leather and a soft cloth. Wipe in small sections, then dry promptly. Saturating seams can affect the padding beneath the leather, while harsh household cleaners may strip protective finishes.
Conditioner can help genuine leather stay supple, but it is not necessary every time you clean. It also depends on the material. Many newer vehicles use coated leather or synthetic leather, which may need different care. When unsure, check the owner’s manual before applying a conditioner.
Treat Fabric Seats and Carpets Without Over-Wetting
Fabric upholstery and vehicle carpeting hold onto dust, spills, pet hair, and odors. They can also take a long time to dry when too much water is used. Excess moisture may leave water rings, encourage mildew, or create a musty odor that was not there before.
For a fresh spill, blot immediately with a clean white towel. Press firmly, but do not scrub. Scrubbing can push the spill deeper into the fibers and spread it across a larger area. Work from the outside edge toward the center.
For a set-in spot, test any cleaner in an inconspicuous area first. Apply a modest amount, gently agitate with a soft upholstery brush if needed, and blot the area dry. Repeat only as necessary. A heavily saturated seat may look clean at first, but the moisture can migrate deeper and bring hidden soil back to the surface as it dries.
Odor requires a different approach than a visible stain. If milk, pet accidents, food, or a damp item has soaked into the fabric or padding, surface wiping will not fully solve the problem. The source needs to be treated, not covered with fragrance.
Professional vehicle interior cleaning is often the practical choice for widespread stains, heavy pet hair, recurring odors, or seats that have already been over-saturated by do-it-yourself methods. DryMaster of Puget Sound uses a barely damp cleaning approach designed to lift soil while helping fabrics dry quickly without the mildew concerns associated with soaking wet cleaning.
Don’t Forget the Headliner and Door Panels
The headliner is the fabric overhead inside the vehicle. It is one of the easiest areas to damage because the material is attached with adhesive. Avoid soaking it, aggressive scrubbing, or pulling at loose edges.
For light marks, use a minimal amount of upholstery cleaner on a microfiber towel and gently blot. Do not repeatedly rub one spot. If stains remain or the headliner is sagging, professional care is safer than adding more moisture.
Door panels can include several materials in one small area. Clean fabric inserts with a light touch, then wipe plastic and vinyl sections separately. Pay attention to the pull handles and window switches, but keep liquids away from switch openings.
Clear Odors by Finding Their Source
Air fresheners can make a car smell pleasant for a short time, but they do not remove the cause of odor. Before using fragrance, look for wet floor mats, food under seats, spilled drinks, pet bedding, gym bags, or moisture in the trunk.
If the odor is strongest when the air conditioner runs, the cabin air filter may need replacement. A damp filter or buildup in the ventilation system can create a stale smell even after the seats and carpets are cleaned. Check your vehicle’s maintenance schedule for the correct filter type and replacement interval.
Smoke odor, mildew odor, and repeated pet odors may require more than one cleaning step. The best treatment depends on whether the odor is limited to a surface or has penetrated upholstery foam, carpeting, and ventilation pathways. Removing the source and using the right odor treatment produces better results than masking it.
Finish With the Areas People Notice Most
Once the interior is clean, reinstall dry floor mats and inspect the vehicle in natural light. Clean the inside of the windows last, using a microfiber glass towel and an automotive-safe glass cleaner. Wipe in one direction on the interior glass so any remaining streaks are easy to identify.
Before putting items back in the car, decide what actually needs to stay there. A small trash bag, a few microfiber towels, and a container for emergency supplies are useful. Loose papers, old cups, and forgotten snacks are not. Keeping the cabin less cluttered makes routine cleaning faster and helps prevent odors from returning.
A Simple Maintenance Schedule
A quick weekly reset can prevent dirt from becoming a major project. Remove trash, shake out mats, wipe high-touch surfaces, and vacuum obvious crumbs. Once a month, clean the glass, vacuum thoroughly, and inspect the seats and carpets for new stains.
Deep cleaning is worth scheduling when seasons change, after a road trip, before selling a vehicle, or anytime the interior no longer feels fresh after a basic cleanup. Families with children, pets, or frequent passengers may need it more often.
A clean vehicle does not need to smell strongly perfumed or look artificially shiny. When surfaces are dry, fabrics feel fresh, and the original materials look cared for, your car is ready for the next school run, commute, errand, or weekend drive.
Leave a Reply